Innovation, redefined
A better way to get from first idea to final outcome faster.
The Intelligent Canvas
Big ideas deserve room to grow. Our limitless canvas lets your team create and build together - from the first 'What if?' to the final 'Wow!' Add anything, plan everything, and watch collaboration come alive.
Custom-crafted to fit your needs
Power through any project with step-by-step templates that turn messy free-for-alls into super slick workflows. Then tweak and shape them until they're custom-fit for your team's needs.
Pure speed, no fluff
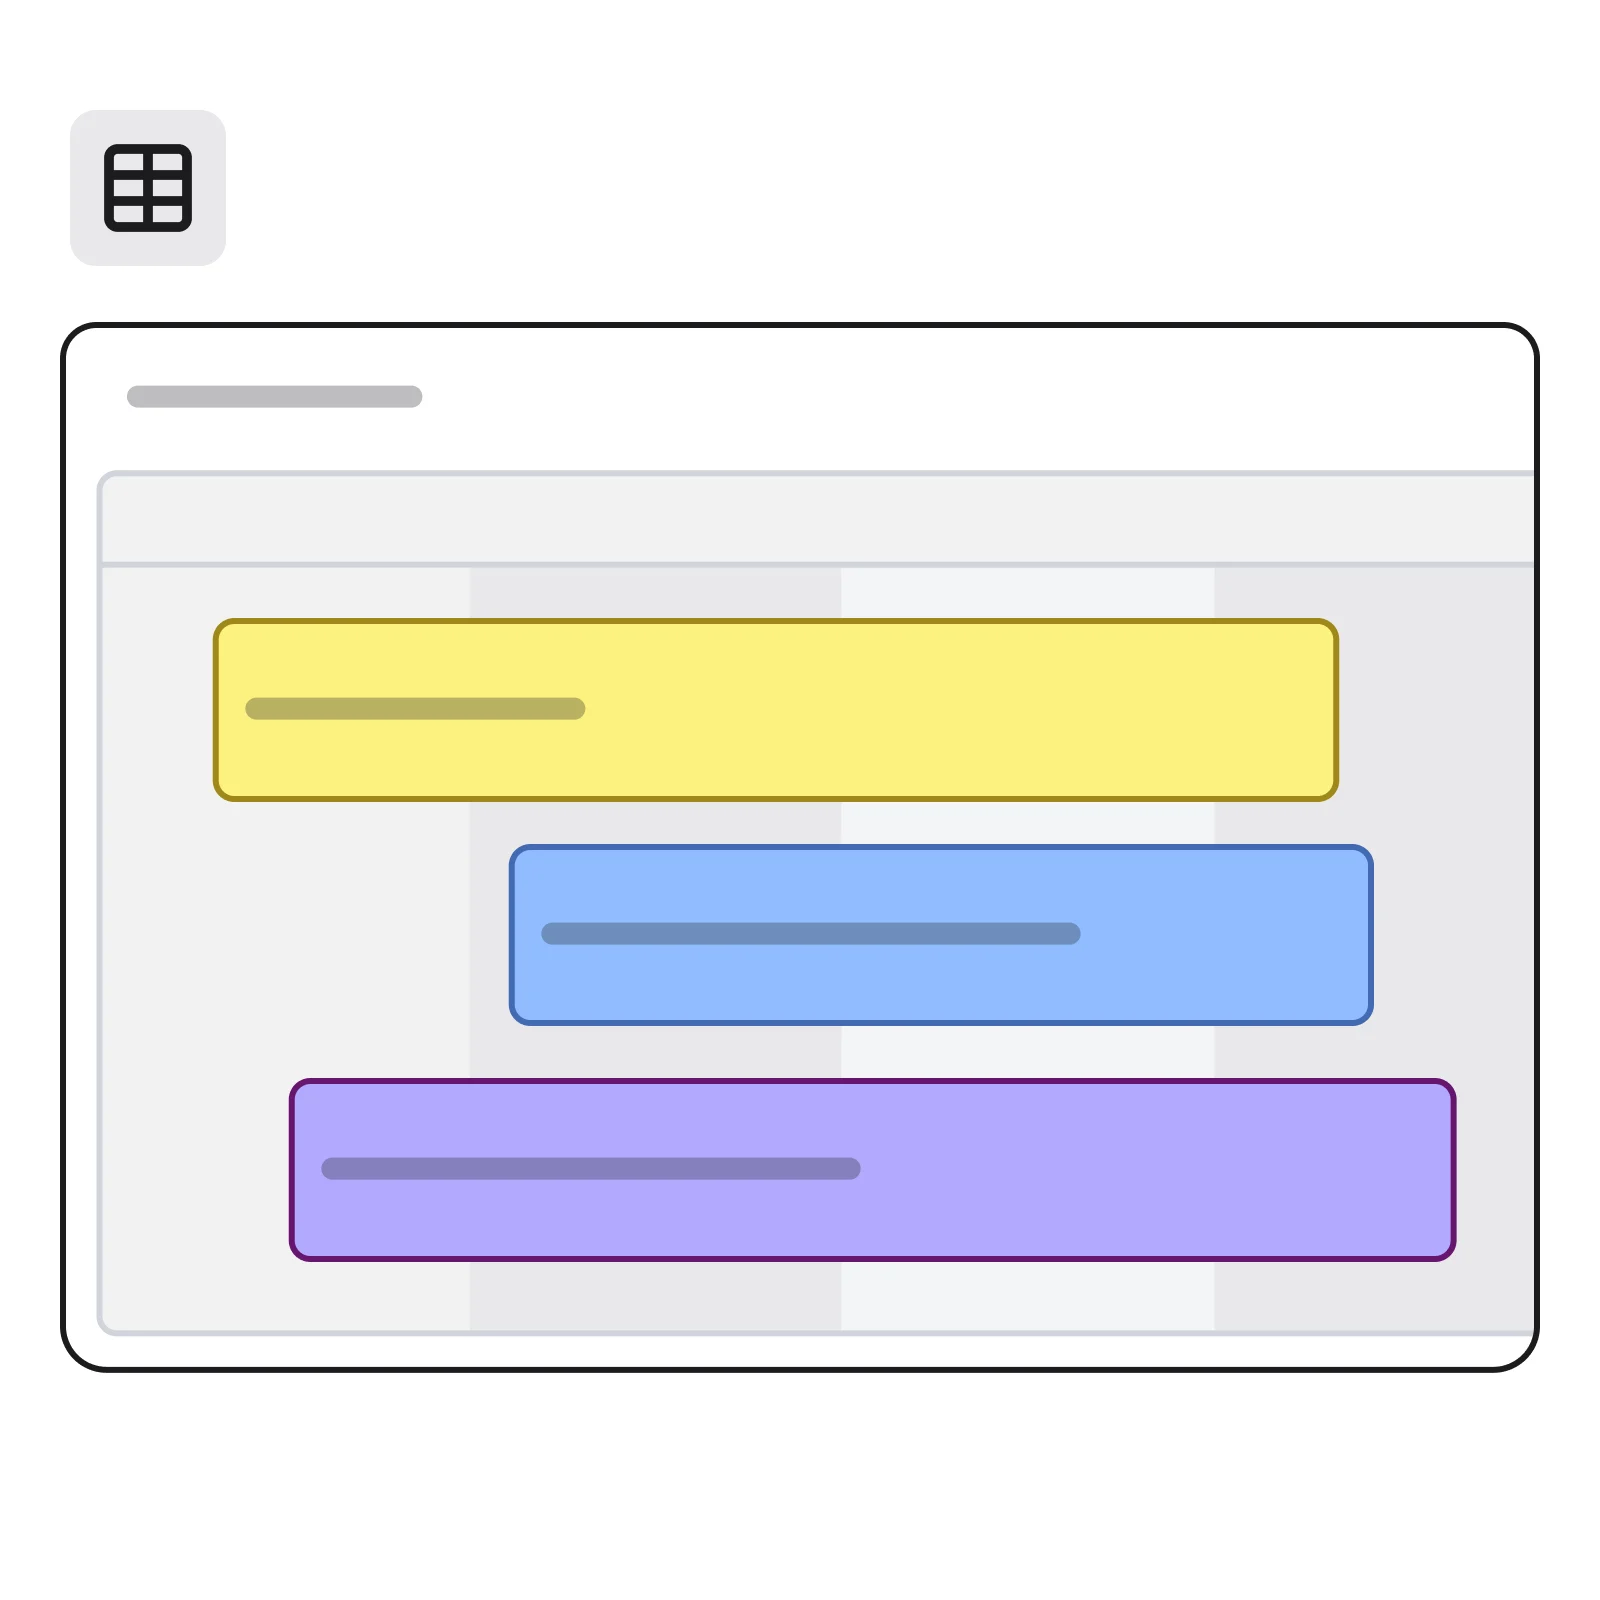
Focus on what matters with distraction-free formats like docs, data tables, timelines, and slides to keep your creative flow flowing. Get to work even faster by setting your favorite format as the default view when you open your board.
Accelerate work and get more done with Miro AI
Make magic with your teammates
Meet less, achieve more
Share your brilliant ideas without scheduling another meeting - record a Talktrack any time and share it anywhere. Need to chat IRL? Launch a live call right on the canvas without wasting time or switching tools.
Bring your tools together
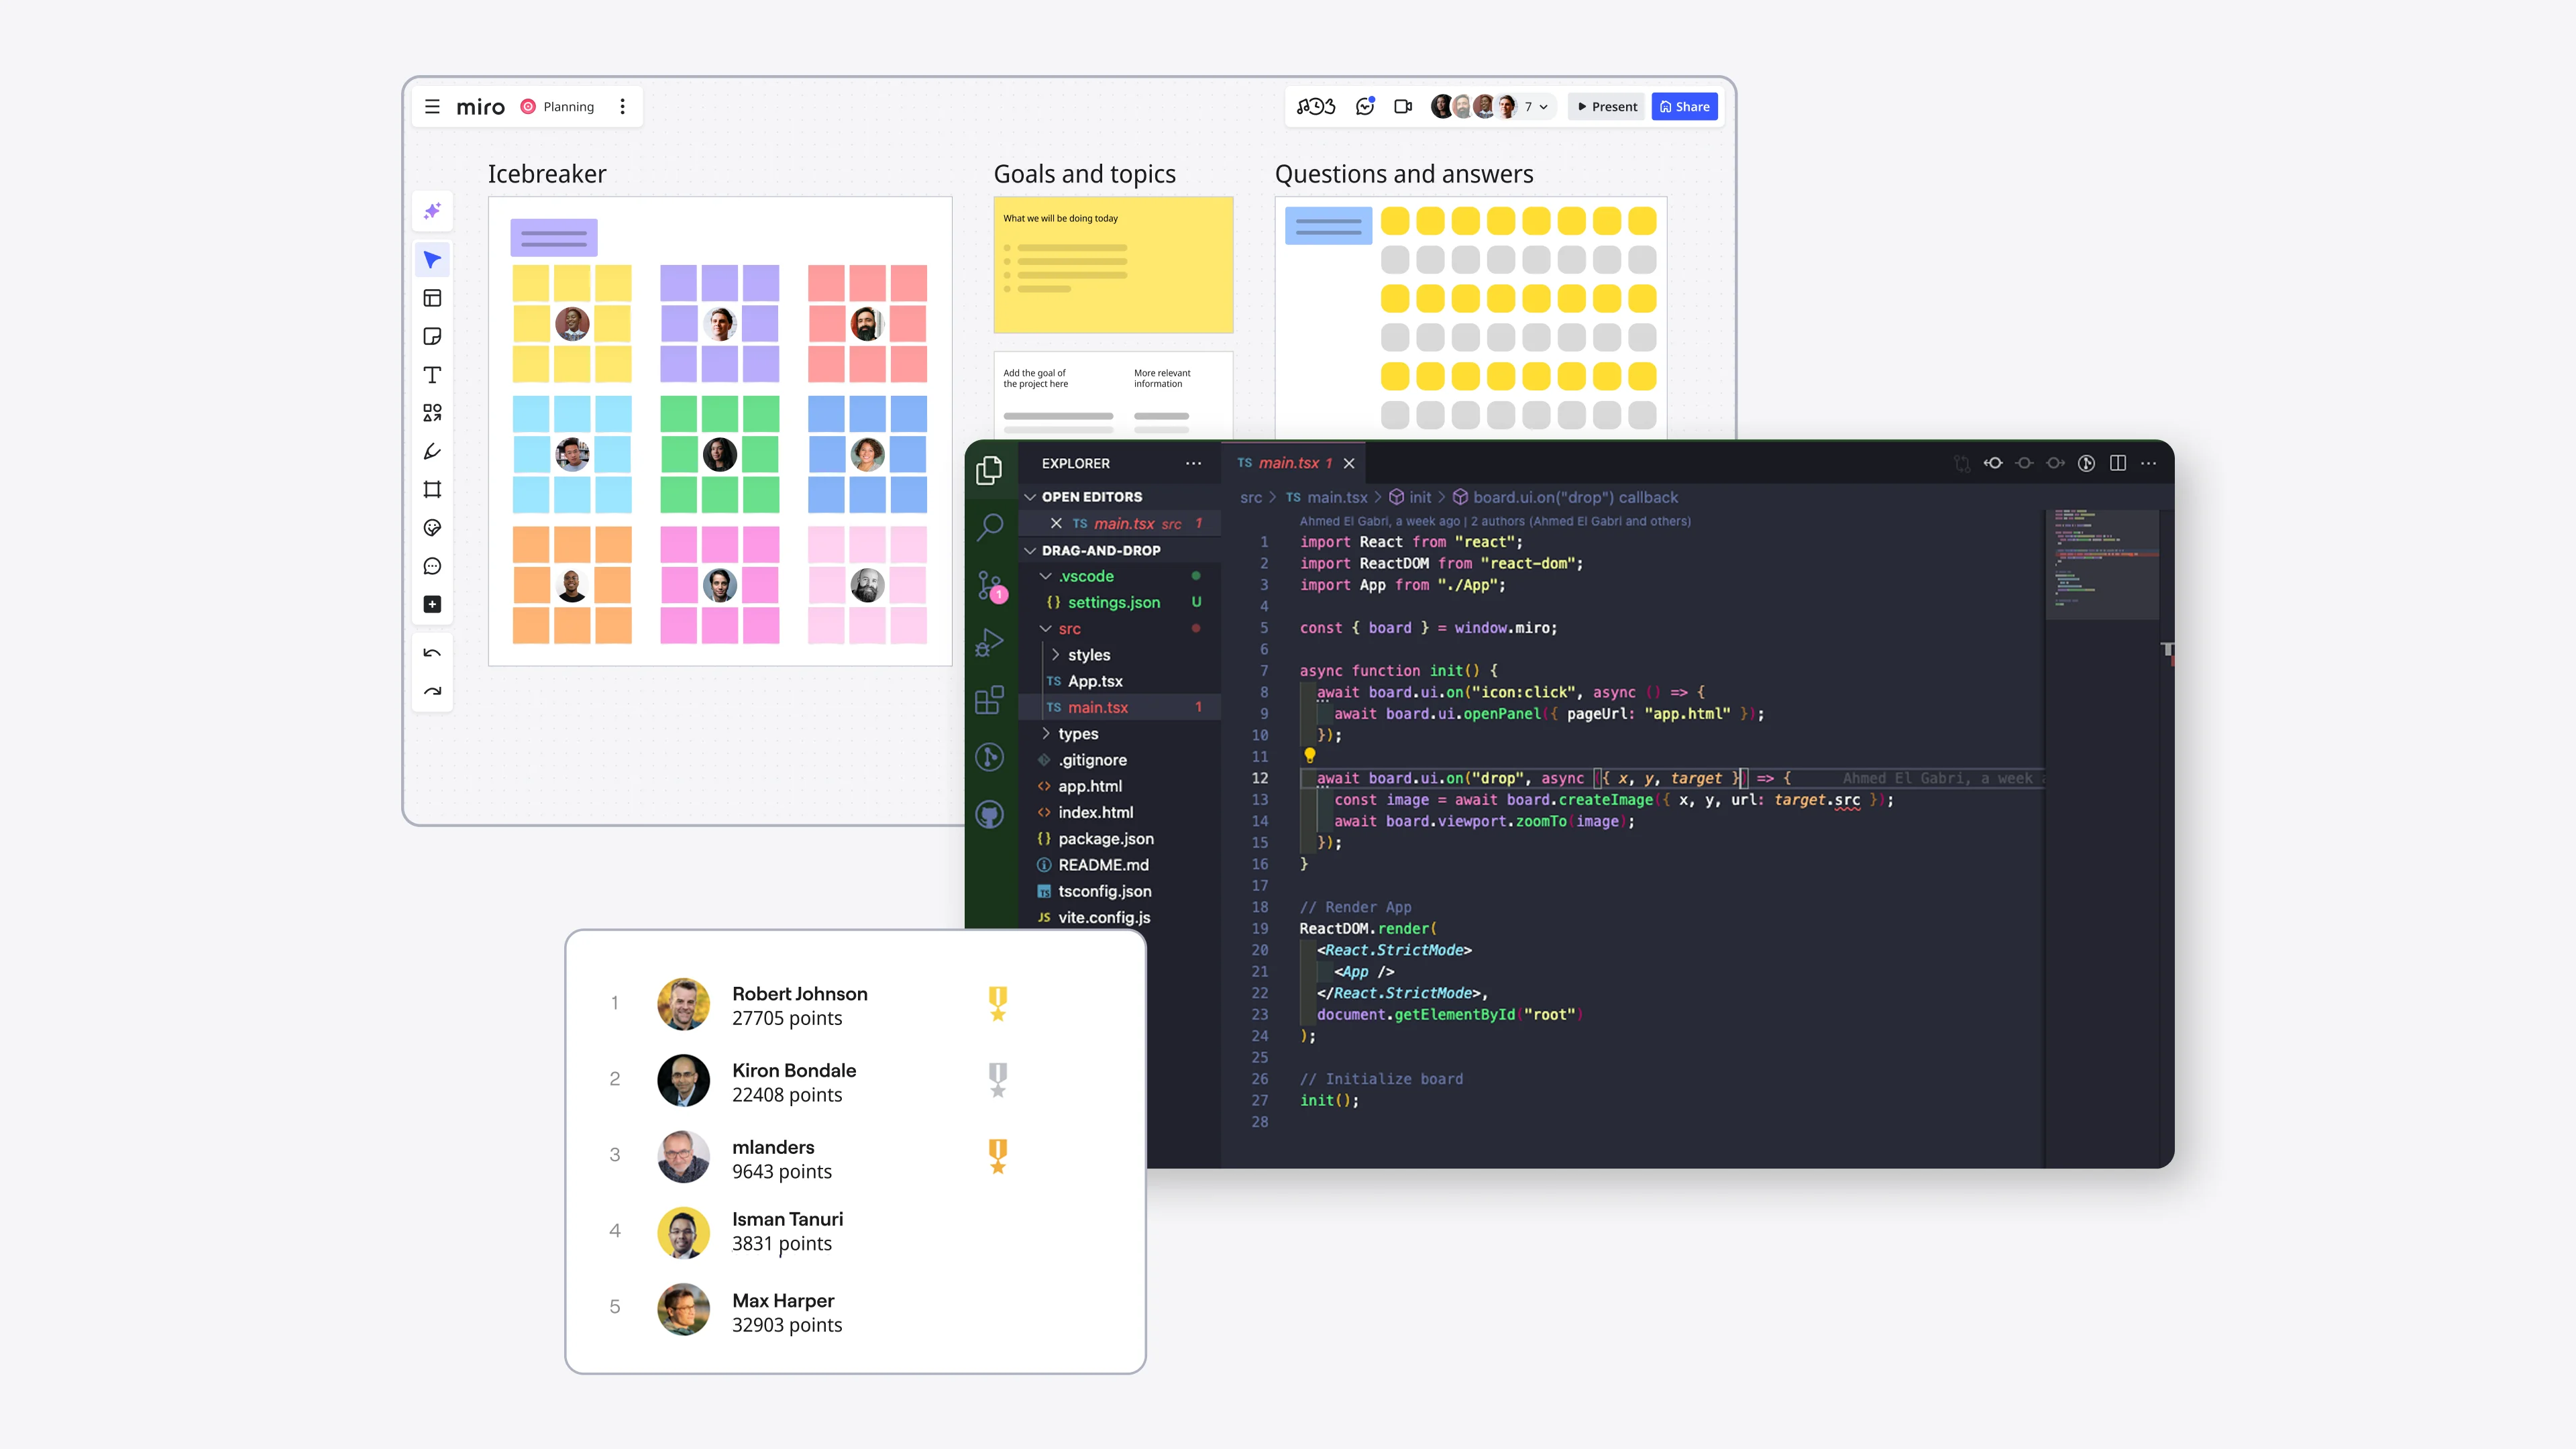
Bring your favorite planning and productivity tools from Microsoft, Google, and Atlassian into Miro, and turn solo work into multiplayer action.
Level-up the energy
Spark excitement with playful features that get everyone in the game - from quick-fire polls and dot voting to dynamic sliders and surprise spinners. Watch your team shift from passive observers to enthusiastic contributors.
The one place where all teams gather to build together
Transform scattered insights into stunning experiences—all in one creative playground. Sketch wireframes, build interactive prototypes, and run design workshops with your key partners, no matter where they sit.
Streamline your technical journey from concept to launch—all in one vibrant hub. Sketch complex diagrams, visualize cloud architecture, and power through Agile ceremonies with every collaborator just a click away. Watch your team's technical vision come together, piece by perfect piece.
Transform unstructured projects into well-coordinated initiatives with a canvas that connects everyone's contributions. Break down walls between teams as goals, strategies, and risk assessments flow seamlessly between collaborators. See your complex projects unfold with clarity—fewer surprises, smoother execution.
This is the workspace that enables marketers to streamline campaign planning, collaboration, and execution in a single platform, bringing campaigns to market faster.
Make collaborative decisions quickly, keep stakeholders in the loop, and bring clarity to the complex. This is the workspace for IT teams to visualize IT strategy, processes, and systems.

Over 160 ways to do things your way

Your most important work, our most comprehensive protection
Safeguard your content
Miro offers the widest range of configurable, and native, security and governance controls. They all adapt to meet your specific requirements, no matter your organization's size or complexity.


